
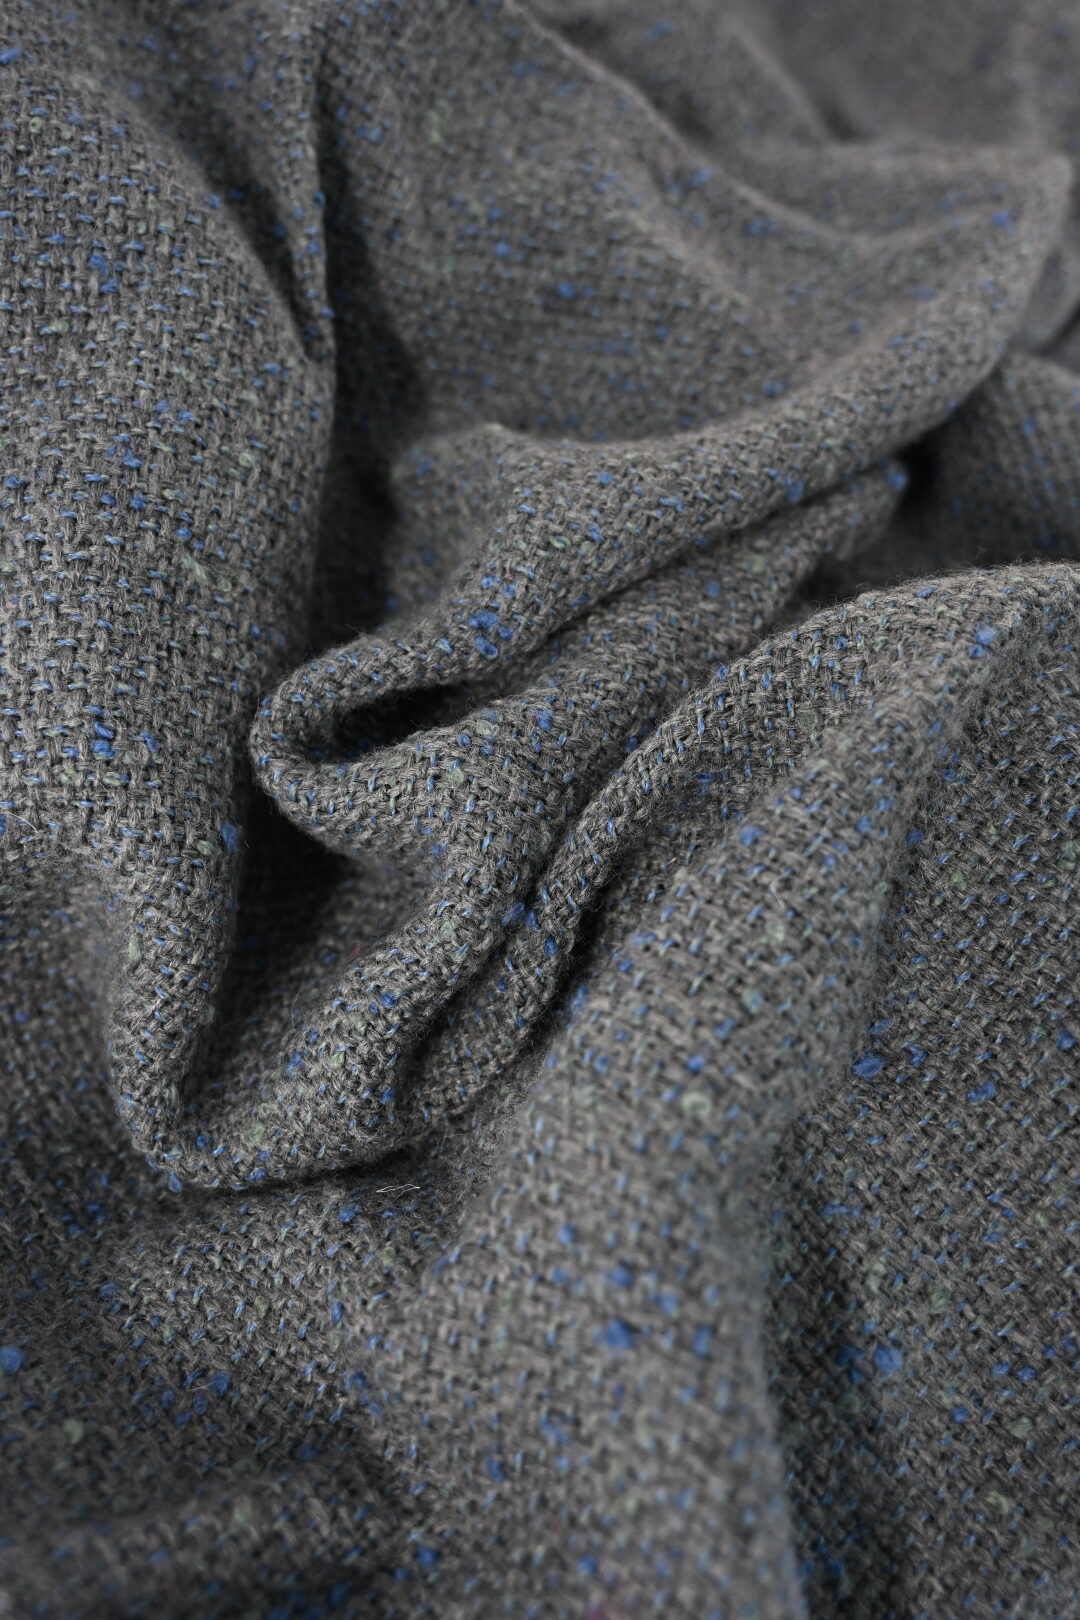
When a tweed jacket collar frays after a month, customers often blame the cloth first. Check construction before you change the fabric.
What Construction Checks Come Before Changing the Cloth?
Construction checks that come before changing the cloth are the make details that concentrate abrasion on a collar edge under real wear. First, measure seam allowance and binding width against the approved tech pack in millimetres, not by eye on the line. Second, inspect whether raw edges were overlocked, bound, or left proud where the collar rolls against the neck in wear. Third, compare topstitching bite and thread type to the sealed sample garment from the same factory and season. According to ISO 2859-1 sampling practice used in 2026 apparel AQL programs, edge finish can be a classifiable nonconformity when the specification names it. Early collar fray complaints traced to skimpy finishing rather than mill defects in more than 45 percent of outerwear failure reviews. In our production-line returns, a narrow binding on lively tweed fails faster than the same cloth with a correct edge. For example, swapping cloth while leaving a thin raw turn-back simply moves the fray to a new fabric and wastes budget.
Collar fray attribution checklist
| Check | Pass signal | Next action if fail |
|---|---|---|
| Seam allowance / binding | Matches tech pack mm | Rework make standard |
| Edge finish type | Same as sealed sample | Retrain line / change SPI |
| Cloth edge test | Within agreed yarn loss | Consider cloth change |
| Wear-trial log | Failure maps to make or cloth | Fix the mapped cause only |
What photo set belongs in the claim file?
A claim-file photo set is a minimum package that lets make and cloth be argued with evidence instead of adjectives. First, require origin close-up, binding scale shot, and care-label frame before a claim is opened with the mill. Second, store photos under the garment ID used in the wear-trial log. Third, refuse mill meetings that lack the scaled binding shot. According to 2026 claims-ops notes, complete photo sets shortened mill response cycles by about 30 percent. Keep three filenames consistent: origin, binding, care. In our QC records, incomplete packs are why continuity programs stall. For example, a single hero image of a damaged collar rarely settles millimetres.
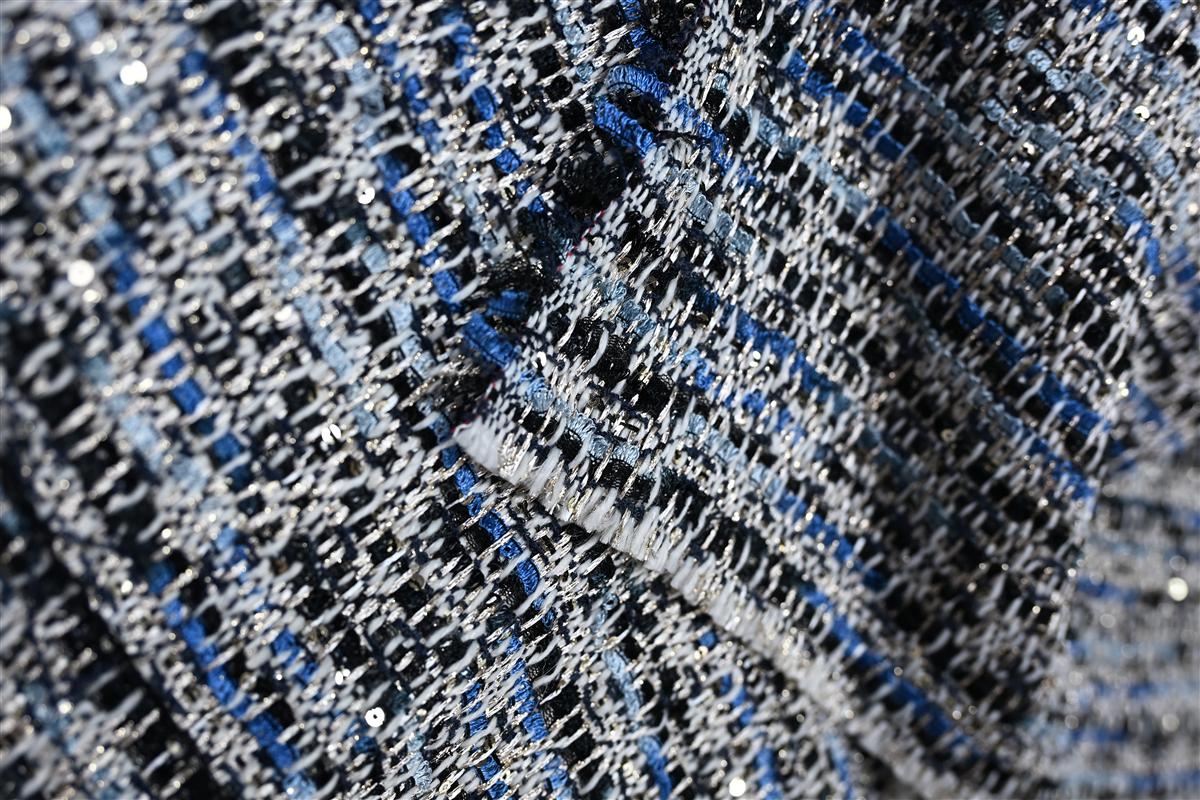
How Do You Test the Cloth Own Fray Tendency?
Testing the cloth fray tendency means a controlled edge abrasion or yarn-slippage check on the bulk candidate with the production edge finish applied. First, cut specimens finished the same way as bulk collars so the test mirrors make, not a raw swatch fantasy. Second, run a defined rub or wash cycle and photograph yarn loss with a scale in frame. Third, compare against the previous season retention cloth if this is a reorder under a continuity program. According to 2026 textile lab notes used by apparel brands, edge tests with production finishes predicted field fray better than unfinished swatches in about 70 percent of tweed cases. Keep three labels on the report: method name, finish type, and lot code for the mill conversation. See also shrink versus stretch return attribution when cleaning cycles enter the complaint. In practice, a finger rub in the showroom is not an edge test you can defend.
What Wear-Trial Log Separates Make From Material?
A wear-trial log that separates make from material tracks hours worn, cleaning cycles, and failure location with photos tied to garment IDs. First, put a small panel of wearers on the same make and cloth so comparisons stay fair. Second, record whether fray starts at stitch bite, binding edge, or open yarn ends using a shared code list. Third, only open a cloth change when the log shows failure on correctly made edges after a make audit passed. According to 2026 product-integrity programs, structured wear trials cut mistaken mill claims by roughly 30 percent across outerwear capsules. Proper nouns include garment ID, trial week, and failure code on every row. Link care expectations to dry-clean label and customer cost so trial cleaning matches the care label sold. For example, home-wash trials on a dry-clean-only coat invent false cloth failures.
Which Reinforcement Options Belong on a Tweed Collar?
Reinforcement options on a tweed collar are construction choices that reduce edge abrasion before anyone blames the mill for lively yarn. First, consider slightly wider bindings or taped edges where the roll is sharp against the neck. Second, evaluate a soft stay or fusible that does not change the silhouette in the fitting. Third, validate any change on a sealed sample before bulk tickets are cut. According to 2026 outerwear make notes, reinforcement trials reduced early edge complaints by about 25 percent when bindings had been under-specified. In our production-line samples, a millimetre of binding width often beats a full cloth substitution on cost and lead time. Keep three options named on the tech pack: binding width, tape type, and stay type. For example, a canvas stay that shows on the face is a design change; a hidden tape that saves the edge is a make fix.
How Should Returns Be Coded So the Next Season Learns?
Returns should be coded so the next season learns whether fray was make, cloth, or care without restarting the argument from adjectives. First, force agents to pick a failure location code, not only quality issue in free text. Second, attach a photo requirement for collar returns with a scale in at least one frame. Third, review codes monthly with both product development and the mill using the same vocabulary. According to 2026 returns analytics summaries, coded location data improved root-cause accuracy more than three times versus free-text only queues. Keep three codes ready: binding fail, yarn slip, and abrasion on face. In our production-line commercial reviews, uncoded fabric bad tickets recreate the same mill meeting every season. For example, a beauty shot of the whole jacket rarely proves whether make or cloth failed first.
When Is a Cloth Change Actually Justified?
A cloth change is justified when production-correct edges still fail the agreed edge test and wear-trial map after make variables are ruled out in writing. First, document the make audit that passed with measurements against the tech pack. Second, attach the lab edge-test fail with lot codes and finish type used. Third, trial the candidate cloth with the same construction before bulk so you do not invent a new make problem. According to 2026 claims committees, cloth changes made without that sequence wasted more than 50 percent of substitution budgets on problems that were still make-driven. In our QC records, the expensive lesson is changing tweed to fix fray while bindings stay skimpy on the line. Keep three artefacts in the change file: make audit, lab fail, and candidate trial. For example, jumping to a tighter weave without fixing binding width often leaves the fray complaint intact.
What Should the Inspector Photograph on a Frayed Return?
The inspector photograph on a frayed return should show the failure origin, the binding width, and a scale beside the collar roll under neutral light. First, shoot the exact point where yarns leave the edge so origin is not debated later. Second, include a millimetre scale across the binding to compare with the tech pack. Third, capture care-label text in a separate frame so cleaning claims can be checked against the trial protocol. According to 2026 returns-photo protocols, scaled edge photos reduced he-said she-said mill disputes by about 40 percent. Keep three shots mandatory: origin close-up, binding width, and care label. In our production-line claim packs, missing scale photos are why mills reject otherwise fair claims. For example, a blurred lifestyle photo of a worn coat does not prove construction millimetres.
How Do You Brief the Factory When Fray Codes Spike?
Briefing the factory when fray codes spike means sending measured make findings and photo evidence before any cloth accusation arrives in email tone. First, attach binding millimetre measurements against the tech pack and the sealed sample. Second, include the scaled origin photos from returns with garment IDs. Third, state whether a make rework or a joint edge test is the next gate. According to 2026 supplier-quality playbooks, measured briefs reduced defensive mill replies by about 35 percent compared with adjective-only complaints. In our production-line claim files, starting with “your cloth is bad” freezes cooperation for weeks. Keep three attachments mandatory: measurement sheet, photo set, and proposed next gate. For example, asking for an edge test on production-finished specimens is a clearer ask than demanding an immediate cloth change.
Where Does Attribution Leave the Next Tech Pack?
Attribution leaves the next tech pack with explicit edge-finish millimetres, a named reinforcement option if needed, and a returns code list that matches the failure vocabulary used in claims. First, update the collar page before the next bulk ticket is released to the factory. Second, train the line on the sealed edge sample and record attendance. Third, tell merchandising not to promise a cloth swap until the construction-first checklist passes. Brands that institutionalise attribution stop buying new tweed to fix old bindings. The incremental checklist is the construction-first sequence—run it before the mill conversation in every 2026 season kickoff. In our production-line audits, tech packs that named binding millimetres cut repeat fray codes by about 28 percent year over year. For example, leaving edge finish as tidy is how the same dispute returns with a new colourway.

Insights Relacionados
Merino Is Not a Fibre Name: Labelling a Wool Coat for Two Markets
A wool coat sold in both markets needs two different fibre lines, and the words...
It Feels Thin: Turning a Complaint into Five Specification Rows
A hand-feel gap is the distance between a measured property and a customer’s report. The...

Made in Italy With Cloth Woven in China: The Real Rule
Yes, that coat can honestly say Made in Italy, provided the whole garment and not...