
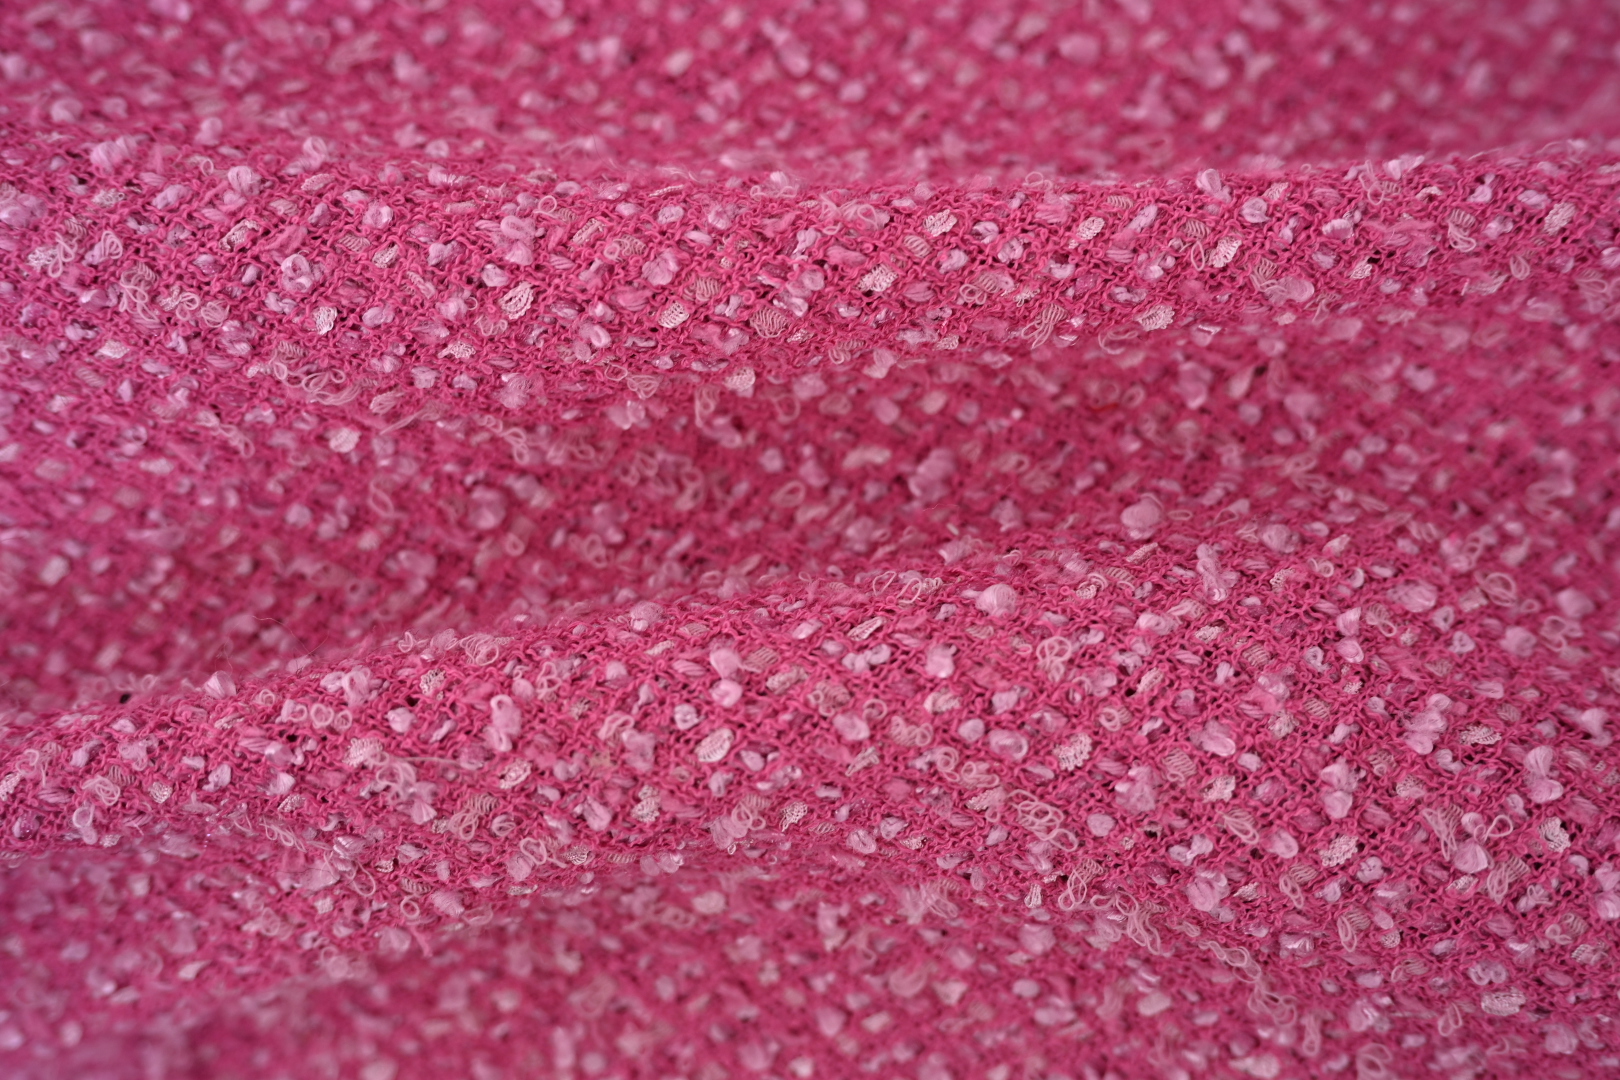
Cut the trial hem the way production will finish it, and measure the ravel at four points in the process instead of once. A loose swatch tells you almost nothing, because the edge that fails in a bulk run is the one the customer can see: cut from the same roll, cut again at the levelling stage, sewn with the intended thread, pressed at the production temperature, and then put through the care cycle you plan to print on the label. Approve the whole run only when the untreated edge settles into a short, stable fringe after that full sequence, and when no single yarn can be pulled to open the weave beyond its measured depth. If the ravel keeps advancing into the hem, the construction has to change before the lay is cut.
The specimen is the finished hem, not a cut swatch
Most ravel trials fail on the specimen rather than on the test. A hem edge in bulk production is cut twice: once when the lay is cut, and again when the hem is levelled and trimmed after the panels are joined. The second cut is the one that matters, because it is the one the wearer sees and touches, and it happens on a garment that has already been handled, sewn, and partly pressed. A test piece cut with scissors from a relaxed length of cloth represents neither cut.
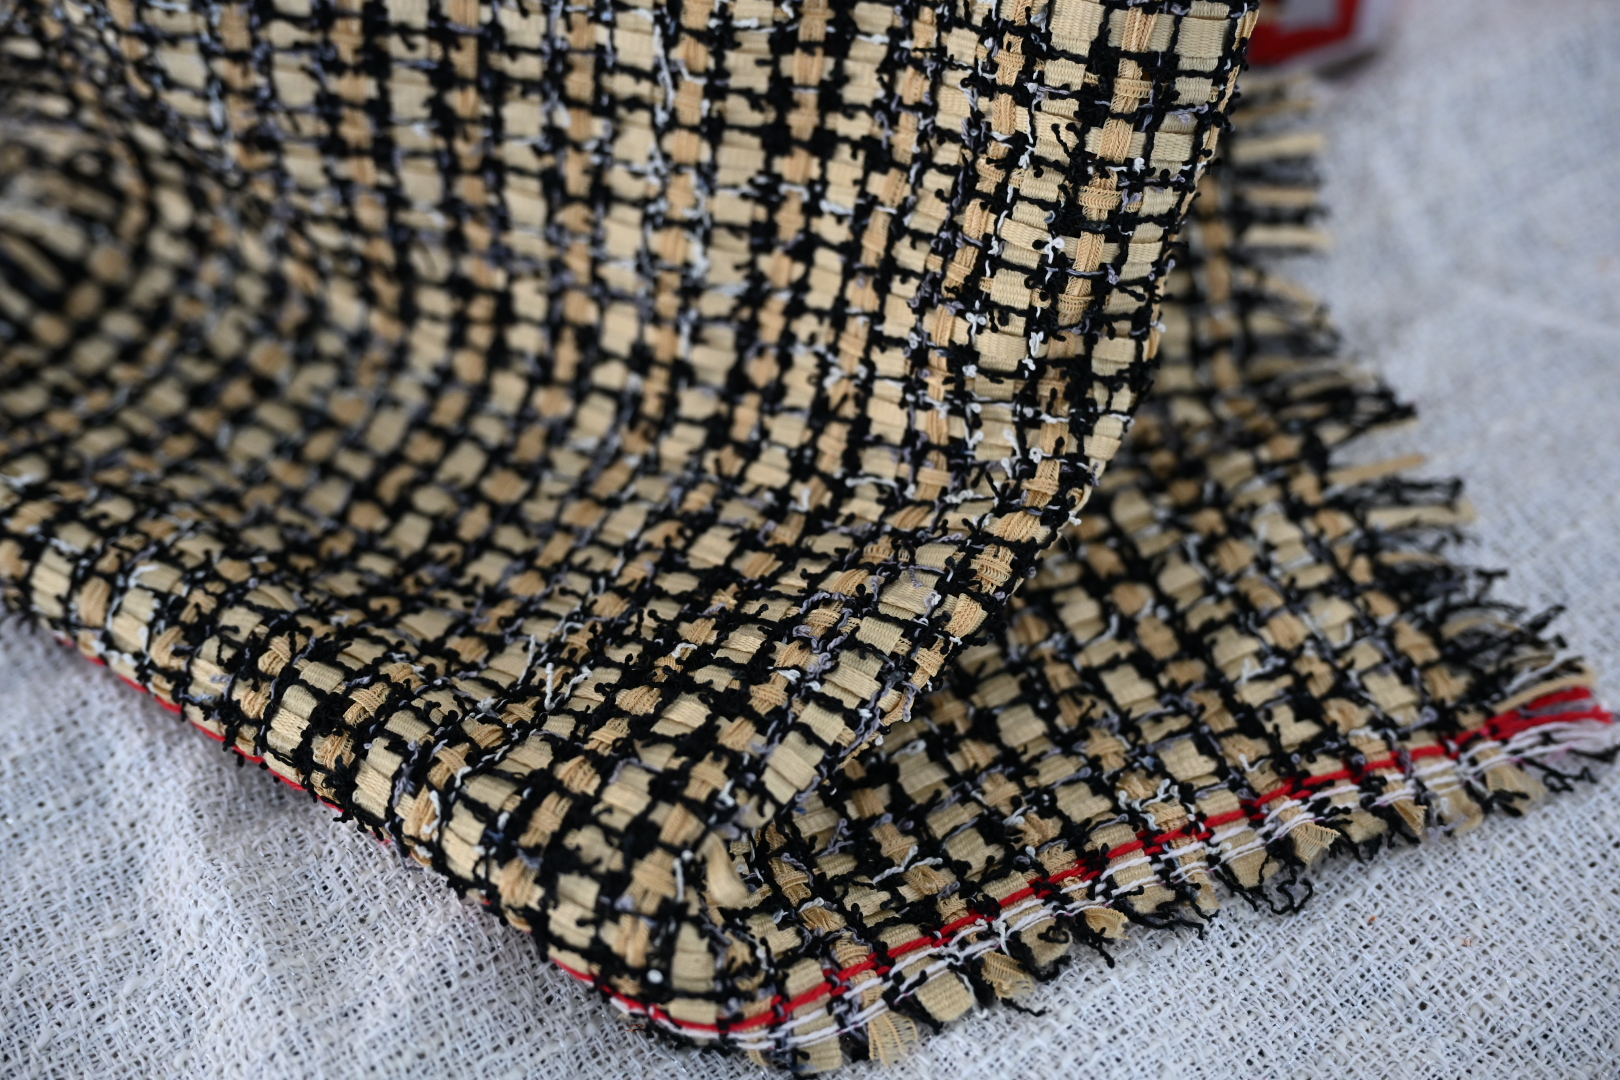
Three variables inside the specimen change the result more than the cloth itself. The first is direction. An edge running along the warp, one running along the weft, and one on the bias shed at different rates and reach different depths, and a marker that rotates a panel or lays it on the cross puts a different direction at the hem than the sample room did. The second is the cutting tool. A straight knife through a high lay leaves a slightly stepped edge and a bottom ply that has been dragged, while a die press, a rotary cutter, and a hot knife each leave a different cut line. The third is the state of the cloth, and this is where the visible yarn character of tweed works against you: the same texture that gives the cloth its depth at a hem line is what lets short fibres and yarn ends travel from a cut edge once the piece is bundled, carried, and pressed. Ask for the hem specimen to be produced with the production cut, the production direction, and the production ply count, and keep the pieces that failed as well as the ones that passed.
Measure ravel as a distance, in four stages
Agree on how the ravel will be measured before anyone starts, because “it frays badly” is not a measurement and cannot be accepted or rejected. The workable method is a distance from the cut line: hold or pin a scale against the raw edge, then record the deepest point the yarns have migrated to, not an average, together with the number of yarns that have left the weave. Repeat it in warp and weft, and on any hem panel that sits on the bias. Then run the same measurement four times, because the edge changes state as it moves through the factory.
- After the lay is cut and the bundles are tied. Handling at this stage is the first real abrasion the cut edge receives, and bundle ties and trolley sides do more damage than the sewing machine.
- After assembly and hem levelling, measured on the finished hem depth with the intended seam allowance still attached.
- After pressing. Steam and pressure soften the cloth, flatten the fringe, and can drive loose yarns into the face of the garment, which is where an unstable edge stops reading as a design feature.
- After packing and unpacking, including a short rubbing test against the lining and against a second panel, which is what a bag or a seat does to a hem in wear.
Two more checks belong in the same session. Pull one yarn at the edge with light tension: if a single yarn unzips several centimetres of the weave, the edge is not stable no matter how it looks, because a hook, a zip, or a chair back will do the same thing. Then inspect the cloth beside every seam and lining attachment, since a pressed seam can hold its yarns while the free edge a few millimetres away does not. A raw edge that holds while the seam beside it opens is a separate failure in the same family, and it is worth testing at the same time with the same cloth and the same tension, the way a seam slippage check at the armhole is run before cutting rather than after.
Judging the result is a question of shape as much as distance. A cut edge that loses a defined band of yarns and then stops has shed, and a shed edge can be a legitimate raw edge if the design has allowed for it. An edge whose fringe gets thinner and more uneven, and whose deepest point keeps moving inward between stages, is running, and no amount of careful handling on the sewing floor will settle it. Record both numbers with a photograph that includes the scale in shot, date it, and keep the physical specimen with the record. The mill and the garment factory will each read the same evidence differently, and a dated specimen with a scale beside it ends the argument faster than a description.
Write the limit into the order, not into the conversation
Once the method is settled, the number belongs on paper. A cut-edge clause in the fabric specification should name the number of test pieces per roll or per dye lot, the directions tested, the cutting method used, the care cycle applied before measuring, the measurement itself as a maximum distance from the cut line, and who measures and signs. Keep that clause separate from the general defect clause, because an edge that shed a defined band and stopped is not the same failure as an edge that keeps running, and one clause cannot judge both. If the mill has a lab and a standard procedure for edge behaviour or abrasion, ask for the method name on the report and run your own hem trial alongside it rather than instead of it, since a lab test on a flat specimen does not press, carry, or bundle the cloth the way your line does.
The garment side needs its own line in the specification: the ravel allowance inside the hem depth. If the design genuinely wants a raw edge, the pattern and the marker should give that edge a band of cloth that is meant to be lost, so the fringe has somewhere to live and the garment structure does not depend on the outermost few millimetres of the cut. Where the design carries no such allowance, the acceptable limit is tighter and the choice of edge treatment carries more of the risk. Say which side answers for what, and agree in advance what happens if the hem trial fails after part of the lay is already cut: whether the remaining cloth is held, re-cut with a different hem construction, or the design is changed. A written stop rule, that no full lay is cut until a signed hem trial exists, is worth more than any promise about careful handling.
Compare edge treatments on the same cloth and price the look
If the untreated edge runs, the next test is a comparison on matched pieces from the same roll, changing one variable at a time and keeping an untreated control in the set. A stitch line set back from the edge is the usual first answer, and its set-back distance is a design decision rather than a technical one, because that line becomes the visual stop of the fringe: everything outside it will still be there when the garment is worn, and everything inside it is structure. A narrow overlock or zigzag confines yarn ends but leaves a ridge and a thread shadow that will show at a lapel or a sleeve hem. Bias binding and twill tape hold the edge firmly and change the drape and the weight of the hem. A fusible strip is convenient and can be tested on the same pieces, but it has its own failure modes on a wool surface, and the trial that settles it is the same trial that settles interlining behaviour under steam. A lining or facing that captures the edge is the least visible option and the most work, and a deliberate, controlled fringe with a hidden anchor line stays closest to the drawing.
Score the options on more than ravel. Stiffness at the hem, shine from pressing, colour shift where a chemical edge product has dried, odour, and whether the treatment reads through to the face of the cloth all decide whether a technically successful edge is still the right one. Then weigh cost in the only currency that matters at this stage, which is whether the treatment changes how the garment hangs. An edge treatment that stops the ravel and flattens the hem has not solved the problem, it has moved it.
Test the care cycle you intend to print on the label
The label is part of the edge specification. If the garment will be dry cleaned, the trial piece goes to a cleaner, with its seams, lining, and hem as they will be finished, because a cleaner’s solvent cycle and finish press act on the edge differently from anything done in your own workshop. If the garment will be washed, the edge sees agitation, tumbling, and the friction of a full load, so test it in a load rather than alone. Press the trial pieces at the production temperature and with the production method, then measure again, because pressing is where a marginal edge becomes a visible one.
Decide the wording that goes to the customer while the trial is fresh, not after a complaint. If a raw edge is part of the design, a short care note saying that cut edges of this cloth may release short fibres, plus the cleaning method that keeps the hem as designed, is a statement about the garment rather than an apology for it. That note also protects the decision internally: once it sits in the care specification, the sewing floor and the quality team have something to work to instead of a verbal warning about a risky hem.
If the untreated edge fails, change the build, not the hope
The order of remedies runs from the least visible change to the most damaging. Hold the fringe with a concealed stitch line set back so that shedding stops where the design says it should. Give the hem an explicit ravel allowance, so the fringe zone is planned cloth rather than lost cloth. Move the raw edge away from high-abrasion positions, in particular the underarm, the armhole, and any edge that rubs a bag or a seat. Change the cut direction of the hem panel if the pattern allows it, since a hem on the straight and a hem on the cross do not behave the same way on the same cloth. Reduce the exposed edge with a facing or a narrow fold if the design can carry it. If all of those fail, the cloth itself may be the wrong choice for this construction, and a tighter weave or a differently twisted yarn in the hem band is a fabric conversation rather than a sewing one.
The judgement to reach before the lay is cut is whether the edge, in the construction you intend to sell, is stable or merely quiet. Quiet edges become unstable the first time a customer wears the garment under a heavy coat, sits on it, or hands it to a cleaner. Testing the finished hem, measuring a distance at four stages, writing the limit and the allowance into the order, and comparing the treatments on the same cloth turns the factory’s warning into a decision you hold evidence for. If the test says no, the honest options are a different edge or a different cloth, and both are cheaper before the lay than after the packing table.

Related Insights

The ISPM 15 Mark on Your Crate: What to Check?
The forwarder’s message asks whether the crate holding 120 metres of wool tweed carries the...

A Name in the Selvedge: What the Edge Can Hold?
A woven name is a construction decision before it is a design decision. On a...
Oil and Mothball Smell in the Bale: What to Do First
An oil or mothball smell on opening a bale is a chemical question before it...